Showing posts with label matching. Show all posts

Saturday, October 13, 2012

Mail Call


We have been discussing Community Helpers in class. Here is a simple, easy, and fun way to let the kids practice their organizing, counting, and number recognition skills.  I have saved these cool boxes that single paper towels come in (by Kleenex).  I knew they would make a great mailbox.  I wrote numbers on cards and taped them to the front of the box.  Then I used foam numbers and drew dots to correspond to the numbers on the boxes.  The kids came to the table and sorted the mail into the correct boxes.  They loved it is an understatement.  They sorted, emptied and sorted again! 


We continued our unit on Mail Carriers by writing cards to ourselves and taking a walk to the mailbox.  The kids were very excited to come back to school with their delivered card!


Pin It

Tuesday, June 12, 2012

Rock Houses

If you have been following me for any length of time, you know that I am all about recycling and cheap!  I don't know if I can get any cheaper than this and my kids love this play set.  We washed out some juice and milk cartons, cut them in half and painted them with craft paint.  Then, we cut doors into our little "houses" and added some little details.  Next, we went out into the yard in search of some smallish rocks.  We looked for ones that we were able to stand up.  Then we painted those, added googly eyes and drew on mouths.  Voila!  Done and done.  Cute little play houses for our little pet rocks.  So fun, so cheap and recycling at the same time.  What's not to love??


Pin It

Wednesday, March 28, 2012

Stacking and Patterning

Here is a great way to use those plastic eggs.  Seperate them and use them to stack and pattern.  Easy, peasy, cheap and fun. 


Pin It

Tuesday, January 17, 2012

Melting Crayons Experiment

I have seen these all over the blogs and Pinterest for awhile now.  I had to try it, it just looks soooo fun!  We decided to make an experiment out of it.  We choose 4 different crayon types to see if they would melt differently.  It turned out to be quite interesting.  One of the brand of crayons did not melt at all and another brand turned to liquid as soon as it was heated.
First, we tried out the crayons by simply coloring with them on the canvas. Then, we hot glued the crayons on.  After that, we took 2 hair dryers to it to speed the melting process up.  It does take a few minutes for the process to begin but once they do start to melt it is quite exciting. 
Here are our results, very cool!


Pin It

Friday, January 6, 2012

Good Finds at the Hardware Store

Here are just a couple things that you can do with FREE stuff from the hardware store. I included some for toddlers and a few for preschool age kiddos.

 Cutting paint samples, they already have those great lines for cutting on.  My daughter loves doing this!  (Do not just go grab a stack from the hardware store stash, ask the manager for their outdated samples.)


We also asked the manager for the discarded keys.  He gave us an entire bag and we have been having so much fun with them.  I just set them out and added an empty wipe container for the toddlers to put them into. 
Check out the key puzzles we created for the preschoolers HERE and our surprise prints HERE.
We have also sorted them by type into tubs.  So many things you can do with old keys..


Pin It

Monday, December 5, 2011

Doing Puzzles...With a Twist

My little girl really loves doing puzzles.  So to put a twist on one of her favorite activities, I put all the pieces of her foam alphabet puzzle into a empty baby wipe box.  She reaches in, grabs a letter and then finds the correct spot on her puzzle mat.  She really had a good time not knowing which letter was going to get pulled out next. 


Pin It

Friday, November 25, 2011

Shmuzzy Pick Up

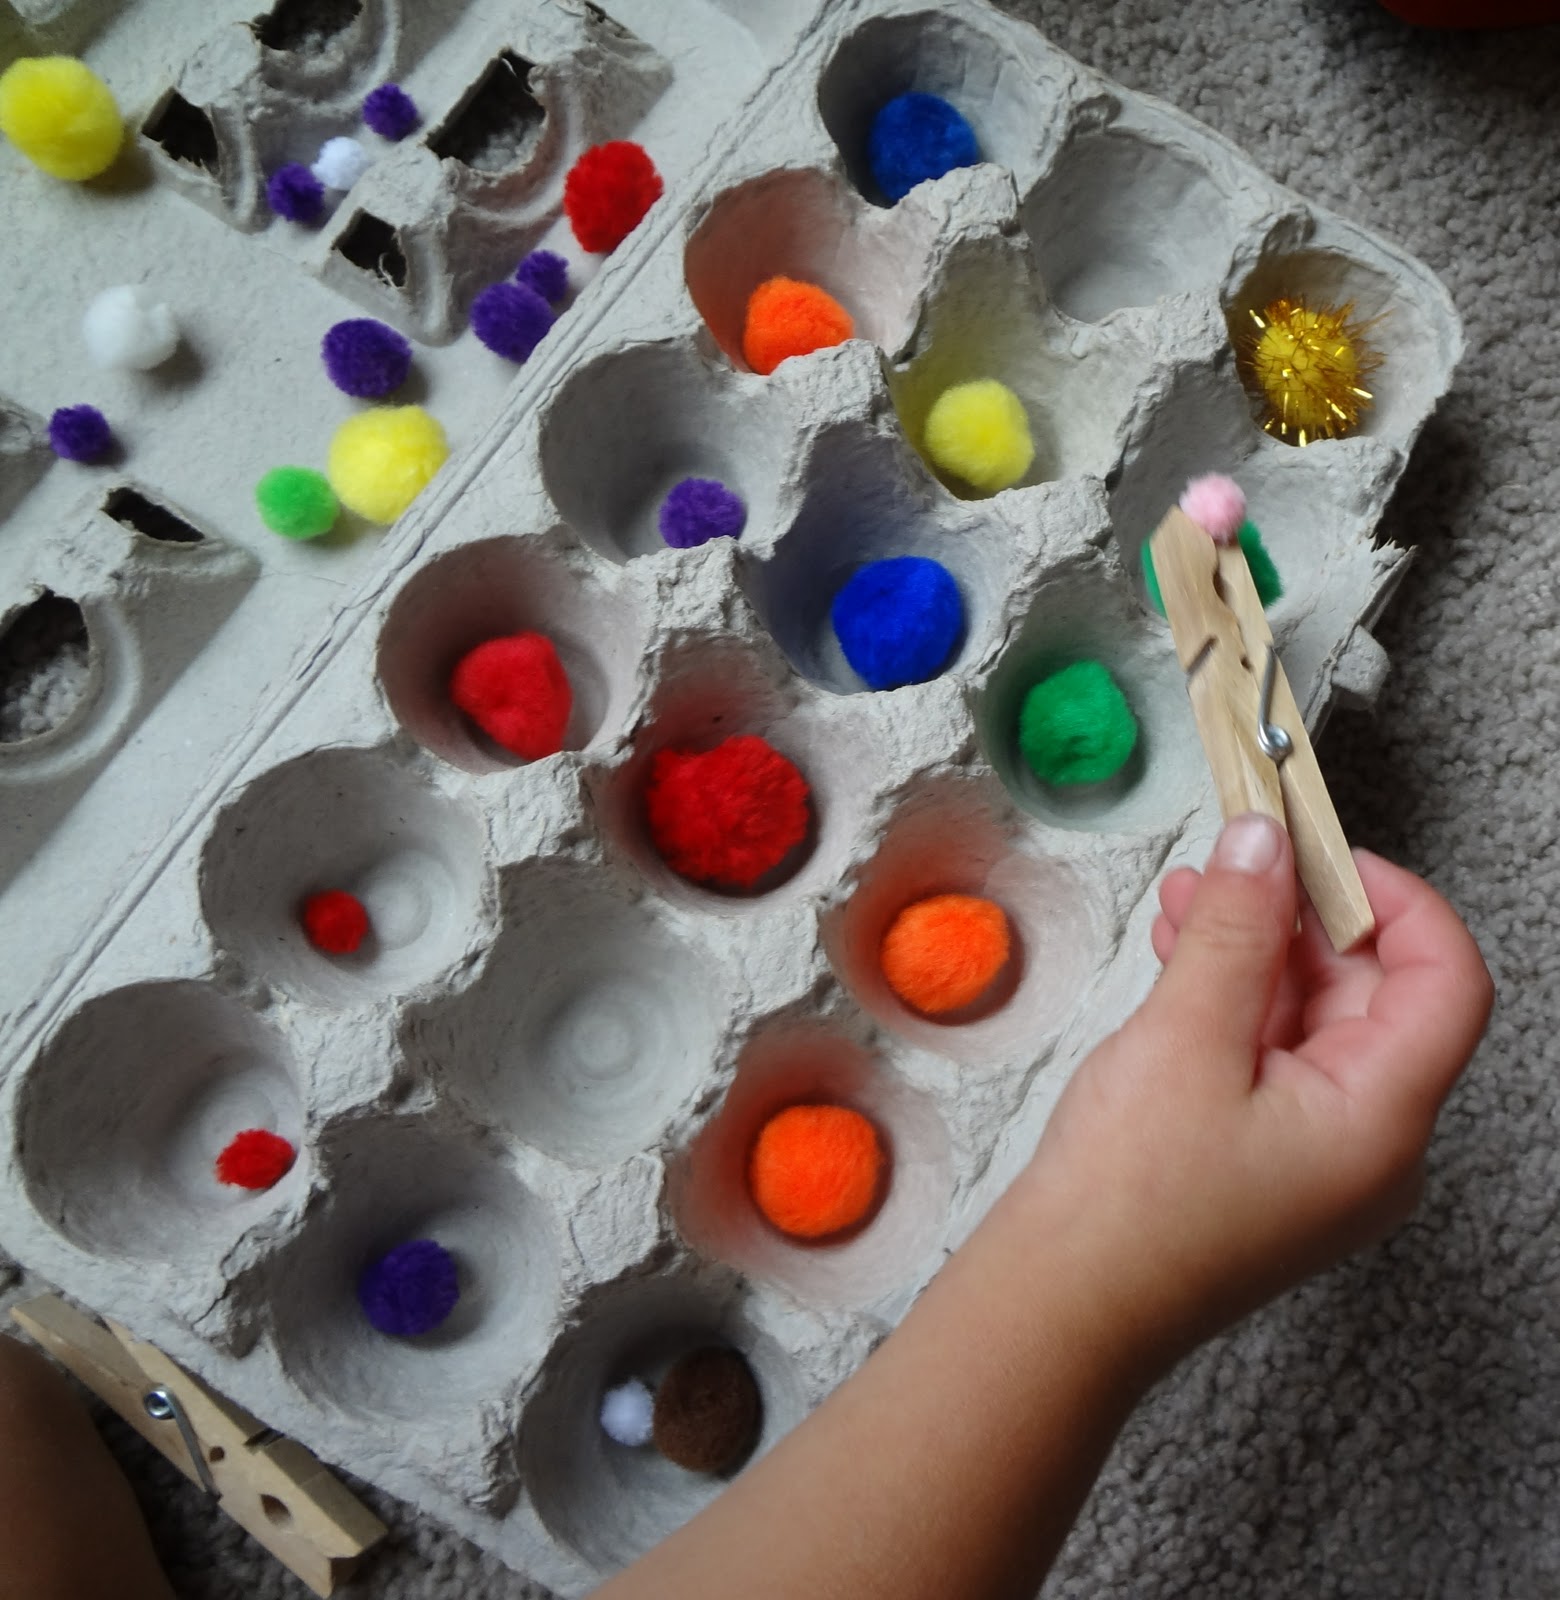
This is a great activity that help develop those little hand muscles needed for writing.  It is also great for sorting, color matching, and problem solving.  I got out our shmuzzy supply and some clothes pins I picked up at Walmart (so many uses for these).  I dumped them into an egg carton added the clothes pins and set it out for the kids.  I sat down with them for a bit and practiced my own fine motor and hand/eye coordination with them.  This kept them busy for quite awhile too!


Pin It

Tuesday, November 22, 2011

Spiky Pumpkin Turkeys

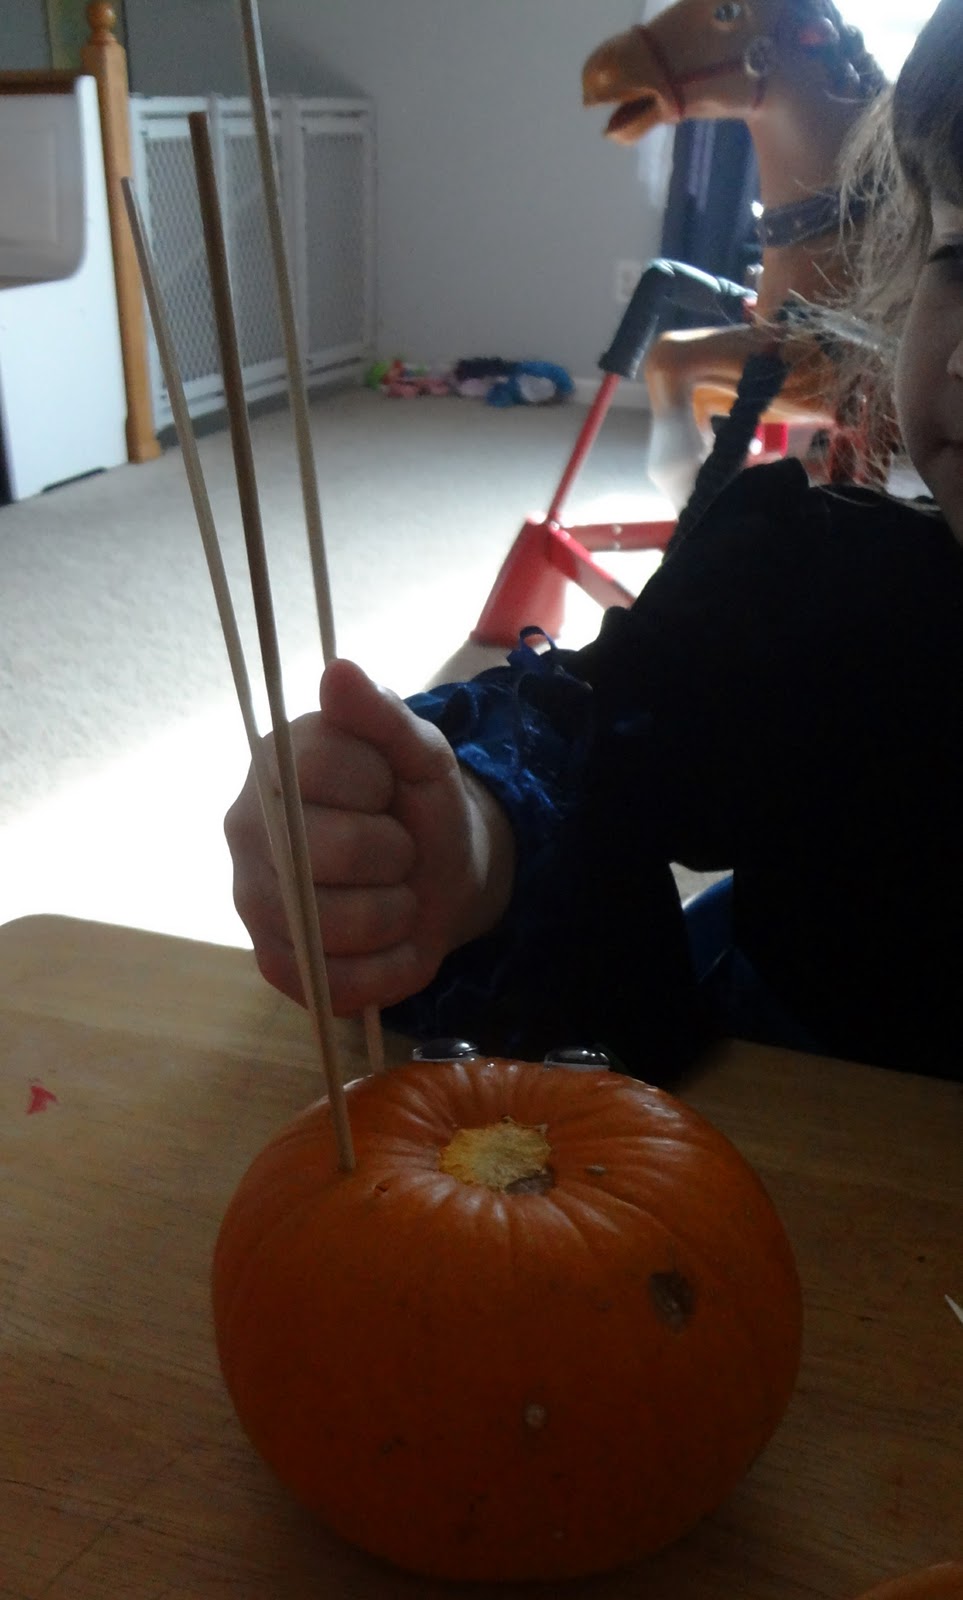
I saw some adorable apple turkeys on Pinterest.  That led to me to set this up for the kiddos.  We had several pumpkins that we have been collecting and I couldn't bring myself to just throw them away.  So, I  bought some wooden skewers in the baking aisle at the grocery store.  They were less than 2.00.  I also bought a box of Fruit Loops cereal,  but any cereal with holes in the middle would work too.  We sorted the cereal into colors first (great math, matching, color experience), then the kids pushed the skewers into the pumpkin.  Took quite a bit of muscle to get them pushed in.  Then the kids went to work putting the cereal onto the skewers.  We used some googly eyes and wooden  pieces to make the faces.  So cute....and spiky too!


Pin It

Saturday, November 19, 2011

TP Roll Feathered Somethings

So I set up our creation station with feathers, empty tp rolls, glue, stickers, markers and crayons.  Then called the kids over and let them get to creating.  Below is what they made.  I was thinking...ya know, TURKEYS...but I have learned not to label what they are "suppose" to make and just let them use their imaginations.  I just love listening to them discuss and problem solve and then watch as they create. 


Pin It

Wednesday, November 16, 2011

Felt Turkey Finger Puppets

We made these really cute, no-sew finger puppet turkeys to go along with one of our favorite songs
"5 Little Turkeys are We".
They are so simple and the kids really enjoyed personalizing them.  I cut all the pieces out from felt because it is difficult for little hands to do. I cut triangles for feathers and beaks, red waddles, and used brown half ovals (not sure what to call that shape) for the bodies.  Then, the kids glued the feathers onto one side of the brown bodies and then we glued the top body, leaving an opening to put our fingers in.  Then we used googly eyes and the other felt pieces to add faces.  Then we just needed to wait for all the glue to dry.
Here is the words to the song we use them with, but really any song about turkeys would work.

Five little turkeys are we,
We hid all night in the tree,
when the cook came around we couldn't be found,
that's why we're here you see!

Then we take one away and keep going...

Four little turkeys are we,

and so on...


Pin It

Friday, October 28, 2011

What Can YOU Do With Plastic Cups?

Awhile back, my son was obsessed with building with cups.  Currently, he just simply loves to build...with anything.  While walking through the grocery store, we saw a display of plastic cups and thought it would be fun to build with them again.  So, I bought two packs of them, for 4.00 each.  This is what we did with them....


built walls....

constructed castles.....


stacked them tall...and created patterns....


filled them up and dumped them out.....


used them as platforms....


and yelled in them.....feeling the vibration and hearing our own voice!
I am not sure if it is clear from the pictures but the children from age 1 to age 5 ( and me) had a fabulous time with these cups, literally, all day. Yes, a few of them got crunched but that is the worst thing that happened!

We also learned about balance, physics, math solutions, volume, cause and effect, patterning, colors...and so much more, all while playing with cups! 
So simple, so fun, so educational!


Pin It

Saturday, October 8, 2011

Squash the Spider

For some reason, we have been having a sorts of spider visitors lately.  We have even caught a few in jars to observe.  They are creepy, but so fun to watch. 
We read the book "Squash the Spider" by Nick Ward and then made these spider webs and cute spiders to go with them. 
 To make the spider webs, all you need is some wax paper and white glue.  Squirt the glue onto the wax paper making a spiderweb shape.  You need to make sure all the ends touch or it will be tough to peel off.  When the webs dry, simply peel them off the wax paper. 
 For the spiders, I gave the kids paper and left them to it.  I really thought it was fantastic that they all added 8 legs on their own.  Of course, we had talked about how many legs they have and all that, but I thought it was pretty cool that they all did it!  When they were done creating their spiders, we got some googly eyes to add to them.  I was instructed to hang the spiders from the ceiling, since that is where we usually find the live ones. 
Then we made edible spiders. We used mini chocolate donuts, some pretzel sticks, a little frosting and some m&m's for the eyes. 


Pin It