Monday, February 28, 2011

Shaving Cream and Paint

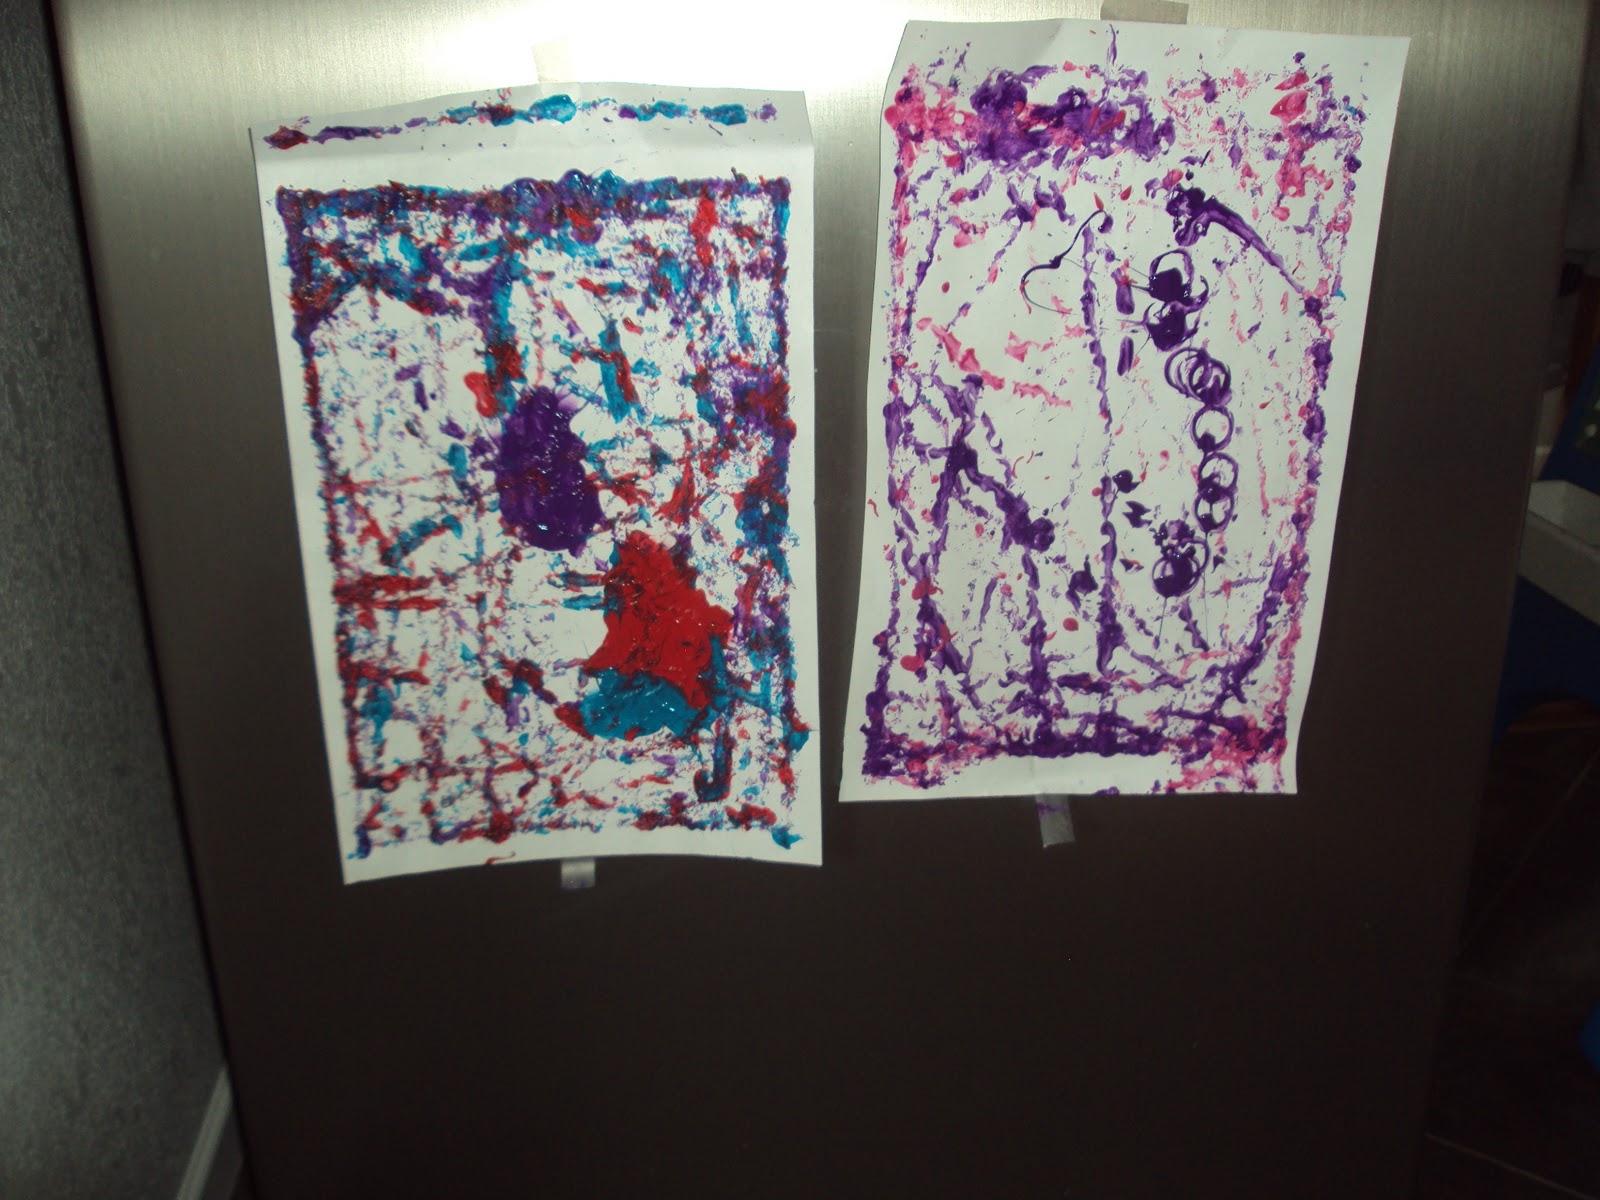
We love shaving cream.  So fun and easy to clean up.  We got out our can (we buy them at the dollar store) and sprayed it out on a cookie sheet.  I put water in our paint containers, since they were almost empty, but watercolors work great too.  Then we used the droppers to squirt the colors all over the shaving cream.  When we put all the color we wanted, we pressed a piece of paper on top of the shaving cream.  Then we used a spatula, (or you could use a squeegee) to wipe off the shaving cream.  Voila, gorgeous prints.  R could not resist getting her hands into after a few minutes, which is great fun too!


Pin It

Thursday, February 24, 2011

Rainbow Bites

To make these yummy, rainbow bites, we mixed up a box of white cake mix.  Then we divided it up into 4 bowls and squeezed in some colors.  We used a little muffin tin and put 1 spoonful of each color in each muffin cup.  Bake and umm, umm, good.  Colors, sensory, science, math.....all in one activity, and you get to eat it too!


Pin It

Tuesday, February 22, 2011

Pass Me a Tissue

If you have some colorful tissue paper laying around, this is a colorful activity for your young ones that will  strengthen their hand muscles.  It is also a great cause and effect experience.  Just cut up some tissue into smaller pieces.  I let the kids cut some too.  They lay it on the paper (we used paper towels) and use spray bottles to get the paper wet.  You could also paint the water on with brushes.  Then the kids peeled off the paper to discover a pretty cool print leftover.  The pictures don't really show the vibrant colors
that the tissue paper leaves behind.


Pin It

Friday, February 18, 2011

Pull My String

This was a fun, messy way to get our paint on today.  We painted pieces of yarn and then laid them onto a piece of paper.  We left a little string hanging out to pull on.  Then we folded the paper in half and held it down with one hand.  We pulled the strings out one at a time and when we opened it up.....a beautiful print.  Love it! Using paint is a fantastic sensory experience for kids. 


Pin It

Tuesday, February 15, 2011

Felt Cupcakes

So I saw these super cute felt cupcakes here.  These looked simple enough, even for a wanna be crafter like me.  So I grabbed the felt sheets I had and had the kids choose which colors they wanted.  We made the sprinkles out of the scraps.  My two loved making "cupcakes" over and over again.  So many different varieties and no sugar rush! We mixed in some math, colors, creative play, shapes all in one activity!  Gotta love it.


Thank you Alphamom!
Pin It

Saturday, February 12, 2011

Valentine Tiles

I made these every Valentine's with the kids in my class.  Now that I have my own two, we have been making these every year for our family members.  This is the one we did this year and how we did them.  First, choose a picture and cut out however you like.  We glued our picture on a white tile (cost about .13 cents at the home improvment store.  The kids stuck stickers on the white parts and we then painted mod podge (decoupage glue) all over everything.  It will look white but dries completely clear.  Let dry, our's took about 24 hours, and hot glue a ribbon to the back.  Super easy and a great keepsake!


Pin It

Friday, February 11, 2011

Painting with a Hair Dryer

My kids love to play with the hair dryer. So, I thought why not let them paint with it too.  We took out a big box and taped our paper to the bottom (so it didn't blow away).  Then I let the kids put in what color paint they wanted an we tossed in the balls. We the plastic, golf balls but I'm sure any light weight ball would work. We turned the dryer on the coolest setting and began blowing the balls around.  We discovered the balls with the holes in them worked the best.  Next time we do this I will get out the smaller travel dryer, the big one was a little heavy for little hands. 


Pin It

Wednesday, February 9, 2011

Craft Stick Flowers

We are really wishing for spring right now.  So we have been making all types of crafty flowers.  For these you just need some craft sticks, glue and maybe buttons or pom poms.  We choose a "stem" and then glued the craft sticks into a star shaped pattern.  We added a button for the middle.  When they dried, we stuck a ball of play dough into a clean, plastic snack cup and then stuck the flowers in it.  T said his was not a flower but a carnival ride!  Whatever name is given them, they were simple, fun and a reminder that Spring will eventually be here.


Pin It

Tuesday, February 8, 2011

Science for a Cold Day


By cold I mean -26 degrees!  This experiment will work when the weather is 0 and below.  The other morning we woke up to -36 degree temps and by 10 a.m. it had warmed up about 10 degrees.  We decided to show the kids what happens to boiling hot water when mixed with this type of temperature.  So, we boiled water on the stove, poured it into a mug and tossed it outside.  POOF....it instantly freezes and not one drop of water hits the ground.  If you are unfortunate enough to have this cold of weather....give it a try.  It is really quite fun.  Just hurry and shut the door, don't let that precious heat out!

Pin It

Monday, February 7, 2011

Melt My Heart Crayons

We make scribble cookie crayons all time with our broken crayon pieces.  I usually put them in the oven to melt inside a small muffin tin that I have just for that purpose.  The kids favorite part of this experience is watching them melt.  So I thought, why not let them watch it up close.  We peeled and broke the crayons into little pieces and put them into a old, heart shaped candy making tray.  Then I heated up the skillet and placed the tray on top of it.  The whole melting process took about 5 minutes.  It was really exciting for the kids to watch the colors blend and discover what new colors they had created by mixing the different colors.  I took them off the tray and let them harden.  They just popped right out once they are done.  Now they have some fun, heart-shaped crayons to create with.


Pin It

Friday, February 4, 2011

Painting the Roses Red, and Purple and Orange....

After cutting up the egg cartons for our memory game, my daughter thought they needed a little color.  So we painted them.  My son decided to paint a crane instead.  Anyway, they sort of looked like little flowers to me so I got out some other materials.  We punched holes in the bottom of the egg carton and stuck pipe cleaners through them. We added a dot of glue and a shmuzzy in the middle.  We pushed a ball of play dough into a yogurt container, or our "vase", to weigh it down.  Then we pushed the pipe cleaner flowers into the play dough after adding a couple decorative stickers to the "vase".  I think they came out perfect and they will never wilt!


Pin It

Thursday, February 3, 2011

Slippery (Balloon) Fish

We love the song "Slippery Fish" by Charlotte Diamond.  So we made some of our own.  I filled up balloons with water.  The kids drew their fish faces on them.  Then we put them in the sensory tub.  I let the kids squirt dish soap all over them and inside the table.  We used a lot!  I added a tiny bit of water.  The kids had so much fun trying to "catch" those slippery lil' guys. 
When they squeezed them just a little bit, the fish would go slipping around the tub.  We also had races by sliding them down the sides of the tub.  Good, clean fun!


Pin It