Showing posts with label numbers/counting. Show all posts

Saturday, October 13, 2012

Mail Call


We have been discussing Community Helpers in class. Here is a simple, easy, and fun way to let the kids practice their organizing, counting, and number recognition skills.  I have saved these cool boxes that single paper towels come in (by Kleenex).  I knew they would make a great mailbox.  I wrote numbers on cards and taped them to the front of the box.  Then I used foam numbers and drew dots to correspond to the numbers on the boxes.  The kids came to the table and sorted the mail into the correct boxes.  They loved it is an understatement.  They sorted, emptied and sorted again! 


We continued our unit on Mail Carriers by writing cards to ourselves and taking a walk to the mailbox.  The kids were very excited to come back to school with their delivered card!


Pin It

Tuesday, May 1, 2012

5 Little Speckled Frogs

Let me preface this post with....I am no artist!  I actually am not very crafty either.  I can come up with ideas and they look great in my head, but when they come to life, ummm, not exactly like it was in my head.  Anyway, we love singing the song "5 Green and Speckled Frogs". So I thought it would be fun to have a little visual to go along with it.  I created these little frogs on a log
puppets for the kids to use. It was super simple and made with what I had on hand. 
I cut a egg carton up into 10 cups, then painted them green.  I added some speckles with green marker.  Then I cut out red tongues and glued them in.  I glued the cups together and added some goggle eyes.  I cut out a "log" from the egg carton and painted it brown. Voila!  Done.
Here is a video of the song in case you have no idea what I'm talking about....


Check out the adorable frogs that they created over at Rainy Day Mum with egg cartons and a paper towel roll!  So cute!
Pin It

Wednesday, November 16, 2011

Felt Turkey Finger Puppets

We made these really cute, no-sew finger puppet turkeys to go along with one of our favorite songs
"5 Little Turkeys are We".
They are so simple and the kids really enjoyed personalizing them.  I cut all the pieces out from felt because it is difficult for little hands to do. I cut triangles for feathers and beaks, red waddles, and used brown half ovals (not sure what to call that shape) for the bodies.  Then, the kids glued the feathers onto one side of the brown bodies and then we glued the top body, leaving an opening to put our fingers in.  Then we used googly eyes and the other felt pieces to add faces.  Then we just needed to wait for all the glue to dry.
Here is the words to the song we use them with, but really any song about turkeys would work.

Five little turkeys are we,
We hid all night in the tree,
when the cook came around we couldn't be found,
that's why we're here you see!

Then we take one away and keep going...

Four little turkeys are we,

and so on...


Pin It

Saturday, October 8, 2011

Squash the Spider

For some reason, we have been having a sorts of spider visitors lately.  We have even caught a few in jars to observe.  They are creepy, but so fun to watch. 
We read the book "Squash the Spider" by Nick Ward and then made these spider webs and cute spiders to go with them. 
 To make the spider webs, all you need is some wax paper and white glue.  Squirt the glue onto the wax paper making a spiderweb shape.  You need to make sure all the ends touch or it will be tough to peel off.  When the webs dry, simply peel them off the wax paper. 
 For the spiders, I gave the kids paper and left them to it.  I really thought it was fantastic that they all added 8 legs on their own.  Of course, we had talked about how many legs they have and all that, but I thought it was pretty cool that they all did it!  When they were done creating their spiders, we got some googly eyes to add to them.  I was instructed to hang the spiders from the ceiling, since that is where we usually find the live ones. 
Then we made edible spiders. We used mini chocolate donuts, some pretzel sticks, a little frosting and some m&m's for the eyes. 


Pin It

Thursday, September 8, 2011

Color/Counting Sorter

WHOOP!  One year ago I began this blog.  It has been such a great experience and I just love sharing with all of you.  Thanks for playing along with us!

I made this little activity for my kids and it has been a huge hit.  I wrapped toilet paper rolls in construction paper, gluing it on.  Then I wrote the name of the color on one side and wrote numbers on the other side.  I got the colored craft sticks at the Dollar Store, but I think you can find them pretty much anywhere.  I glued the bottom of the tube into the egg carton holder.  The kids sort the sticks by color or count the correct number into them. 

Pin It

Sunday, July 31, 2011

Another CO2 experiment with a POP!

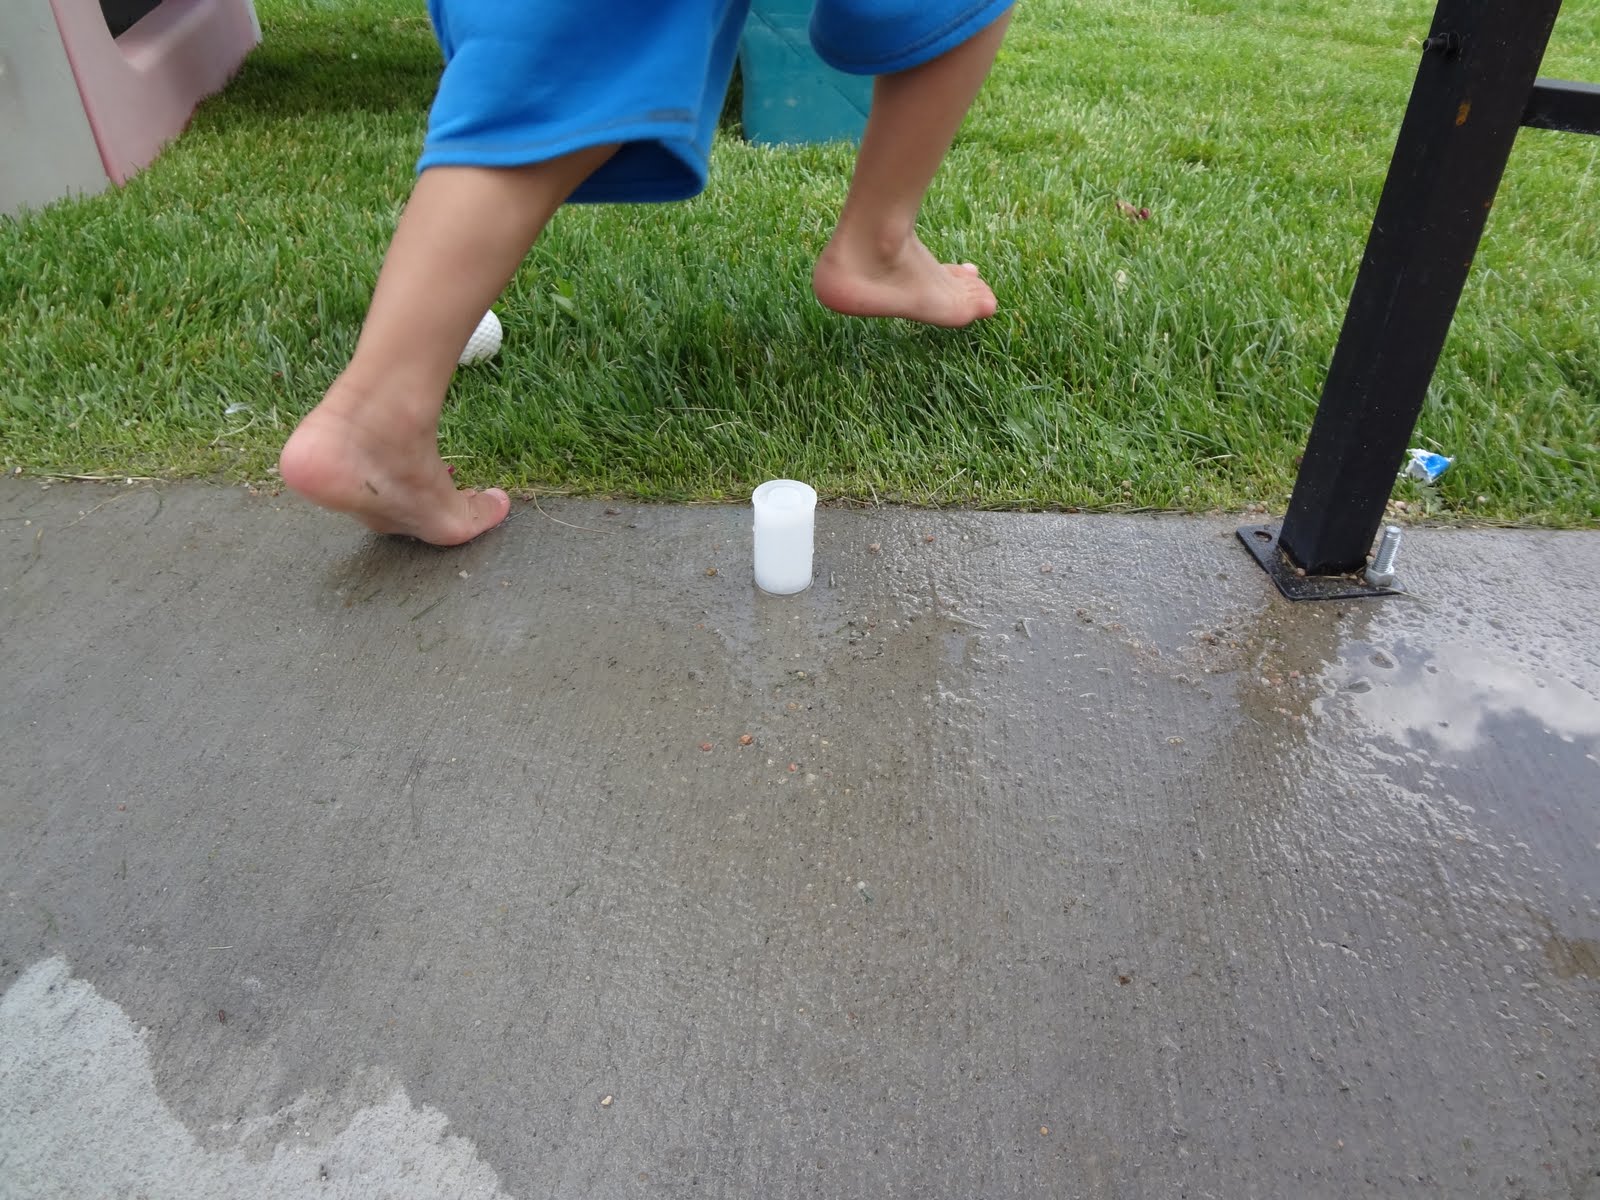
This was a super fun experiment, we used an entire box of antacids.  We used some 35mm film canisters that I have had stored for awhile.  You could use any little container that seals.  The kids filled them about 3/4 full of water, dropped in an antacid tablet, snapped on the lid and ran.  The tablet and water create CO2 which makes the lid pop off.  It is soooo fun.  I was so happy that I actually captured the POP on film, it happens so fast. We counted how long it took each one, though we didn't get past 5. 


Pin It

Thursday, July 7, 2011

(Sort of) Stretchy Play Dough

When I saw this recipe in one of my books, I had to give it a try. It is suppose to be stretchy dough but didn't come out how I thought it would.  It is still more elastic than most play dough.  It feels similar to cookie dough.  We didn't add any color but next time we will.  My kids loved playing with this dough.  It feels really nice and doesn't dry out your hands like the dough made with salt.  In fact, it makes your hands nice and soft...and a little greasy.  We saved it in a baggie to use another day, and when I took it out the oil had seeped out, so just be aware of that if you make this.  Here is the recipe if you want to try making your own.
4 cups of flour
1 cup of oil
1 cup of water (add color to the water if you want colored play dough)
That's it....simple huh?


Pin It

Friday, March 25, 2011

Stamping Mania

I saw this idea at A Little Learning for Two and was inspired to make some ourselves.  If you haven't seen her blog you should go over and visit.  She has some fabulous ideas.
 The kids picked what they wanted to have on their stamps.  T wanted the letters of his name and R, a heart, flowers and a turtle.  We used the foam letters and numbers and some foam stickers that we had laying around.  I glued them to the lids and got out the stamp pad.  I taped a big piece of packing paper to their table and let them go to town.  Most of the stamping was done on themselves, but a few made it on the paper. Thank you Caz, for the wonderful inspiration.  My kids had a blast!
p.s. if you are doing letters or numbers...glue them on the lid backwards so when the kids stamp, the print is correct. 


Pin It

Tuesday, January 25, 2011

Gelatin Cake

I use to make these for the kids in my class but this is the first one I made for my own.  It was amazing to see how long it kept their interest.  They poked it, put color in it, squished it and made jelly snakes out of it.  I dissolved 4 packages of Knox gelatin into 3 cups of hot water.  I sprayed a mold, (you can use a bowl, pie pan, cake pan, whatever) with cooking spray and then poured in the liquid.  Then I put it in the refrigerator overnight.  When it is solid, it plops right out of the mold. You could make a bigger one, the ratio is 3/4 cup of water to 1 packet of powder.  You could just give the kids straws to poke through it.  My son had the most fun doing that.  You can pipe color into the mold by using droppers and colored water.  You can tell by the last picture....they totally dissected the gelatin cake.  A fabulous science experiment.


Pin It

Saturday, December 11, 2010

PB&J by the Numbers

Since my son is so interested in numbers and counting, I made this little game for him. I thought it would be fun to use his favorite food right now....peanut butter sandwiches.  I cut out shapes that resembled slices of bread, jelly and peanut butter.  Then I numbered two "slices", jelly and peanut butter with the same number.  I also added the dots so he could check which number is which.  I am slowly adding numbers as he progresses.  We started with 1-6.  Now, we are up to 12.  Even my two year old matches the "picture numbers". 


Pin It

Tuesday, November 2, 2010

Do It Yourself Board Game

T loves to play games but sometimes all the pictures and numbers on the board games can be distracting.  So I thought we might start simple.  I got a large piece of paper.  This was actually the back side of a large piece of contact paper that I had from our "Sticky Feet" activity. (You can find that activity on one of my older post.) 
Anyway, I taped it to the table and used a marker and cup to make circles on the paper.  I cut out a picture of a house from a toy catalog and taped that to the top as our destination.  We used a couple of our toy people for our markers.  We rolled a die and counted how many dots.  Then we moved that many circles.  It didn't take long to get to the house and it was a great counting/number activity as well.  I can't even tell you how many times we have played this game.  So fun and so simple. 


Pin It